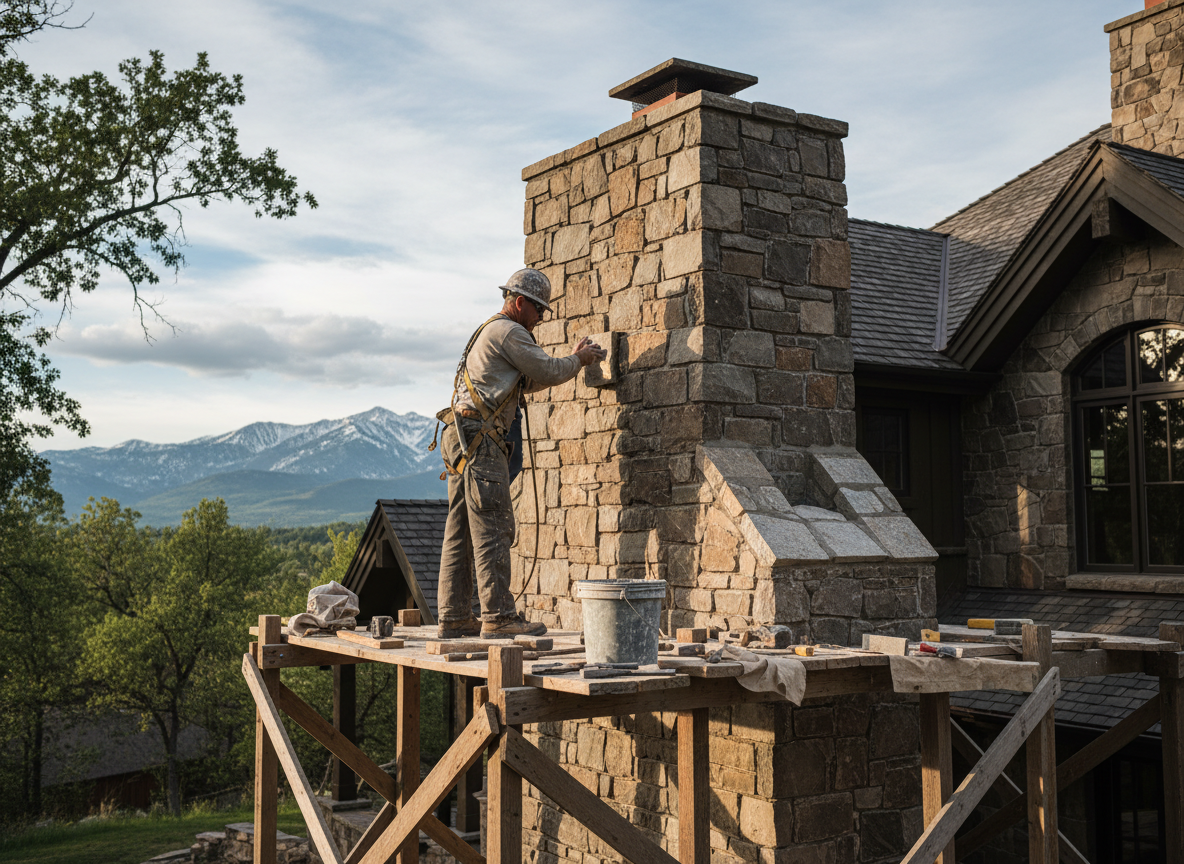
Stone chimneys in Holladay Village and Mount Olympus neighborhoods often date to the 1960s and 1970s when many Salt Lake County homes were built with local sandstone or river rock. The semi-arid climate brings hot dry summers that bake the stone followed by heavy snow loads and repeated freeze-thaw cycles through winter. These cycles force water into hairline joints, then expand and pop mortar or shift individual stones, especially on chimneys with limited flashing or crown coverage. We see the worst damage on the north-facing sides near Olympus Hills Park where wind-driven snow accumulates.
Common edge cases include chimneys tied into multi-story homes in Cottonwood where access requires scaffolding on sloped lots, or repairs near power lines in Millcreek-adjacent pockets. Salt Lake County building codes require proper flashing integration and spark arrestors on any masonry work that penetrates the roofline. We always check for creosote staining or efflorescence that signals interior moisture issues before touching the exterior stone. Skipping this step leads to callbacks when water re-enters through the same path after the first big storm.
Homeowners in Holladay frequently attempt DIY tuck-pointing with modern cement mortars that are too rigid for the original lime-based joints. The mismatch causes new cracks within two seasons. We match mortar composition to the existing stone and use stainless steel ties where stones have shifted more than half an inch. Every job ends with a water test from the roof to confirm no new entry points before we leave the site.
Technician insight
In Holladay, the thing that catches most people out with stone chimney repair is how the 1970s homes around Mount Olympus used soft lime mortar that the freeze-thaw cycles destroy first on the north side. Homeowners try to patch with modern cement and it just cracks again the next winter because the stones move differently than the new mortar allows.
Shifted Stones on North Face
A chimney in Holladay Village showed visible gaps after heavy March snow. We found the north-side mortar had washed out from repeated freeze-thaw, allowing stones to tilt outward. We removed the loose mortar, reset the stones with stainless ties, and repointed the full height. The homeowner reported no further movement after the next snow cycle.
How it works
- 1
On-Site Inspection
We examine the full height of the stone stack, crown, flashing, and any nearby roof penetrations for water entry points.
- 2
Damage Mapping
Loose stones, failed mortar joints, and shifted caps are documented with photos and notes on access challenges specific to the lot.
- 3
Mortar and Stone Repair
Failed joints are cut out and repointed with compatible mortar; individual stones are reset or replaced using matching material.
- 4
Sealing and Protection
Crown and flashing details are restored, then a breathable sealer is applied to reduce future water absorption.
- 5
Final Water Test
We run a controlled water test from above to verify repairs hold before cleanup.
Pricing
Upfront quotes after inspection; cost driven by height, extent of stone displacement, and scaffolding needs on sloped Holladay lots.