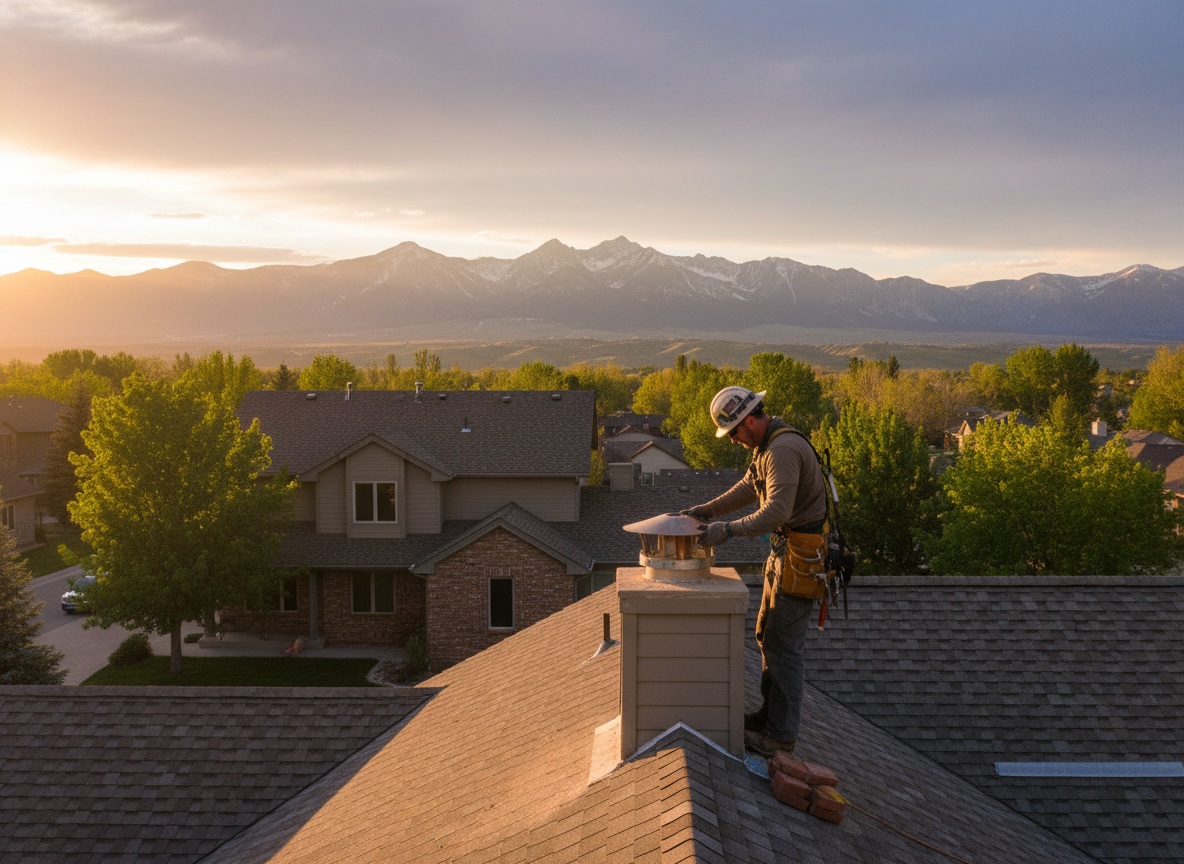
Holladay sits at the base of the Wasatch with cold snowy winters that drive repeated freeze-thaw cycles through chimney crowns and caps. Homes in Mount Olympus and Cottonwood often date from the 1960s-1980s with masonry chimneys that have settled on the bench terrain. Water enters through a damaged cap, runs down the flue, and saturates brick or block joints that never fully dry in our semi-arid summers. A missing or rusted cap also lets wind-driven snow and pine needles from nearby Olympus Hills Park collect inside the flue, accelerating creosote and mortar failure.
Repair starts with a top-down inspection from the roof. We check the cap anchor points, the crown condition, and any offset in the flue tile that is common on sloped lots near Holladay City Park. Stainless or galvanized replacements are chosen for salt-air exposure when wind carries moisture from the Salt Lake valley. We also verify spark arrestor mesh size so embers do not escape during the dry summer months when fire risk rises in Millcreek and Cottonwood Heights.
Access on these older roofs often requires extra staging because many chimneys sit on the downhill side of the house. We carry extra flashing and counter-flashing stock sized for the common 8x12 and 13x13 flue openings found in Holladay Village. After the new cap is set we run a smoke test from the fireplace to confirm draft before we leave the site.
Seasonal Guidance
Winter cap damage shows up first after the first hard freeze in late November. Schedule inspection before the heaviest snow load arrives so repairs finish while roofs are still accessible.
Technician insight
In Holladay the thing that catches most people out with chimney cap repair is the way wind funnels between Mount Olympus and the bench, lifting even properly screwed caps after a few heavy snow loads. Older homes here also have thin crowns that crack the first time water sits under a rusted cap, and once that happens the flue tile shifts before spring.
Rusted Cap on Mount Olympus Home
Problem: homeowner noticed water stains on the living-room ceiling after a January storm. What we found: the original galvanized cap had rusted through at the seams and allowed snow to enter the 8x12 flue on a 1970s chimney. What we did: removed the cap, rebuilt the crown joint, and installed a new stainless cap with upgraded anchors. Outcome: draft restored and no further moisture entry during the remaining winter.
How it works
- 1
Roof Access and Visual Check
We climb from the ground or use a ladder at 6245 Highland Dr dispatch and examine the cap, crown, and flashing for cracks, rust, and missing mortar.
- 2
Flue Assessment
A mirror and light check inside the flue reveals water staining, creosote buildup, or displaced tile caused by a failed cap.
- 3
Cap Removal and Replacement
Old hardware is cut away, the new cap is anchored with stainless screws, and fresh sealant is applied at the crown joint.
- 4
Draft Verification
A smoke test confirms proper draw before the job is complete and the homeowner is shown the old cap.
Pricing
Cost depends on roof pitch, chimney height, and whether the crown needs rebuilding at the same time.