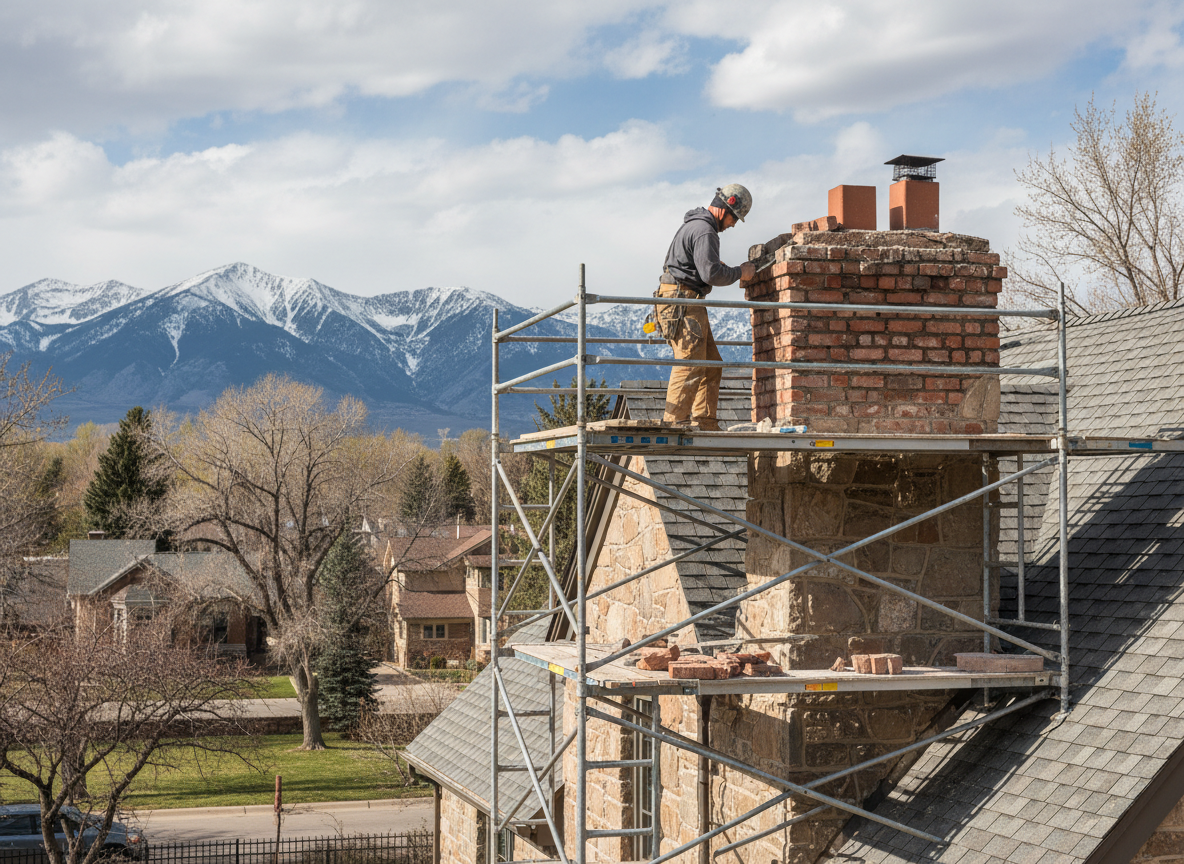
Holladay sits in Salt Lake County where cold snowy winters alternate with hot summers, creating constant expansion and contraction in masonry. Homes in Mount Olympus and the Cottonwood neighborhoods often date from the 1950s through 1970s with brick chimneys built on sloped foothill lots. Over time the mortar joints crack, the flue liner spalls, and water finds its way behind the brick. Restoration means removing loose material, repointing with the right lime-based mix, and installing a new stainless or cast-in-place liner that can handle the temperature swings without failing again.
Terrain plays a direct role here. Properties near Olympus Hills Park and Holladay City Park sit on ground that shifts slightly each spring thaw. That movement opens gaps at the chimney crown and where the flashing meets the roof. We see the same pattern on streets running toward Cottonwood Heights and Millcreek: water enters those gaps, freezes, and pries the masonry apart. A proper restoration includes rebuilding the crown with a slope that sheds snowmelt and installing step flashing that follows the actual roof pitch rather than a generic kit.
Code requirements in Salt Lake County also affect the work. Any time the flue is opened or relined, the installation must meet current IRC standards for clearance and termination height. Older chimneys serving wood-burning fireplaces in Holladay Village frequently need a full height stainless liner to restore draft and meet the updated rules. Skipping that step leaves the homeowner with a chimney that still drafts poorly once the first cold snap hits.
Technician insight
In Holladay, the thing that catches most people out with chimney restoration is how the foothill terrain around Mount Olympus makes older brick chimneys settle unevenly. Freeze-thaw cycles then open the same joints every winter, and homeowners often try to patch only the visible cracks instead of rebuilding the crown and adding a full liner that can handle the movement.
Cracked Crown on Mount Olympus Home
Problem: Water was entering through a deteriorated crown and running down the flue on a 1968 brick chimney. What we found: Settling from the sloped lot had opened gaps at the flashing and spalled the liner in two places. What we did: Removed the old crown, installed a new sloped concrete cap, ran a stainless liner the full height, and repointed the exposed joints. Outcome: Draft returned to normal and the homeowner reported no further moisture after the next snow cycle.
How it works
- 1
Initial Inspection
We examine the flue, crown, flashing and masonry from top to bottom, checking for cracks, spalling and water staining.
- 2
Damage Mapping
Findings are documented with photos and notes on which sections need rebuilding versus simple repointing.
- 3
Material Removal and Prep
Loose mortar and damaged brick are cut out; the flue is cleaned and prepped for the new liner or repair.
- 4
Restoration Work
New mortar, rebuilt crown, and liner are installed; flashing is replaced or adjusted to match the roof.
- 5
Final Verification
A smoke test and visual check confirm proper draft and weather-tight seals before we leave the site.
Pricing
Upfront quotes are given after the on-site inspection; cost depends on chimney height, extent of masonry damage and liner choice.