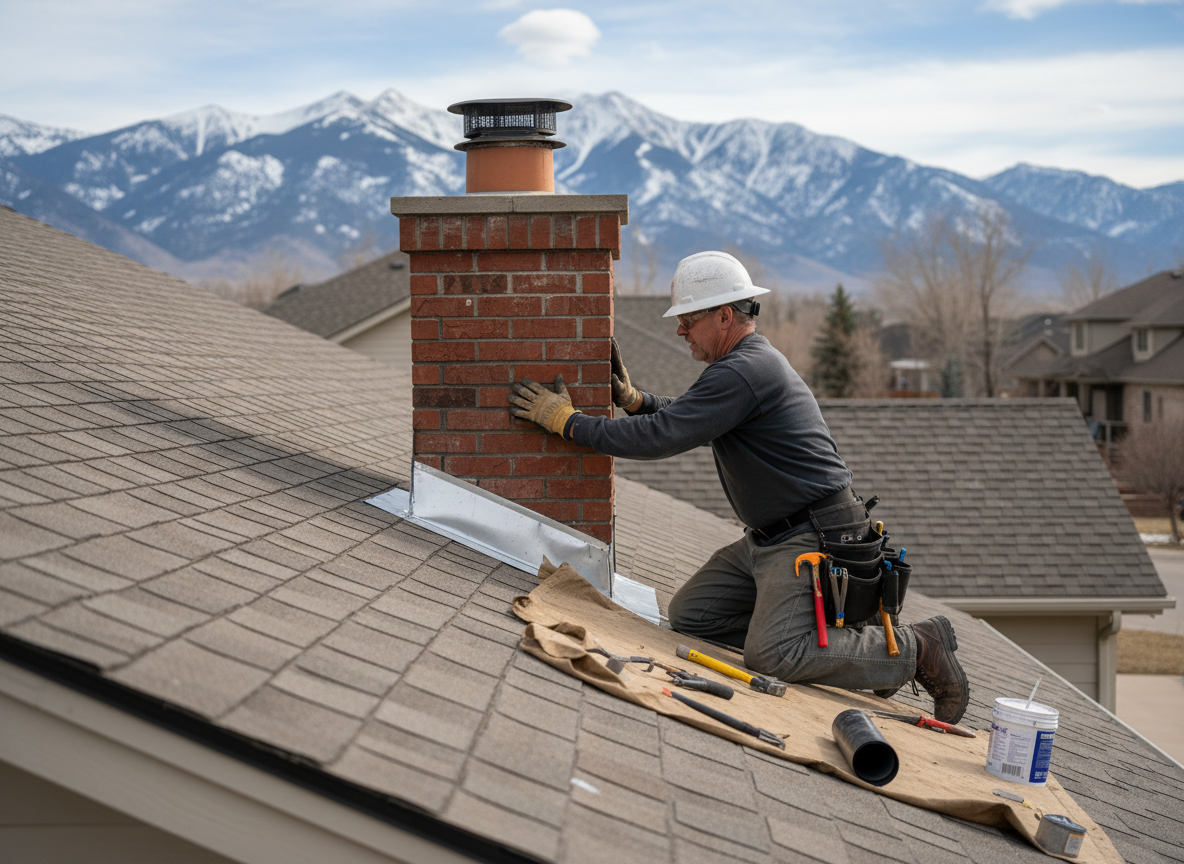
Holladay homes in Mount Olympus and Cottonwood often feature masonry chimneys tied into older roofs that see heavy snow accumulation. Flashing at these points must handle both meltwater and the expansion from repeated freeze-thaw cycles common in Salt Lake County winters. When sealant or metal step flashing fails, water tracks behind brick and into attic spaces near Holladay Village.
We replace or rebuild counter flashing, cricket pans, and apron pieces using 26-gauge galvanized or copper to match existing roof pitches. In areas like Olympus Hills Park where tree cover increases debris load, we also correct ponding that accelerates corrosion. Proper integration with underlayment prevents the ice dam leaks that appear after the first heavy snow.
Access on steeper lots in Cottonwood Heights requires scaffolding or roof jacks rather than ladders alone. We check for rotted sheathing around the chimney base before new flashing is installed, because water intrusion from prior seasons often extends beyond the visible leak point. All work follows IRC requirements for step flashing overlap and cricket sizing on chimneys wider than 30 inches.
Technician insight
In Holladay, the thing that catches most people out with chimney flashing repair is how quickly ice dams push water under the step flashing on the north-facing slopes common in Mount Olympus; the houses built in the 1970s and 80s often have minimal cricket size and no ice-and-water shield under the original flashing, so one winter of heavy snow turns a small leak into attic saturation before homeowners notice.
Mount Olympus Chimney Leak After Early Snow
Homeowner in Mount Olympus noticed water stains on the ceiling after the first November snow. We found failed lead flashing and no cricket on a wide chimney. New copper step flashing and a properly sized cricket were installed with ice-and-water shield extended upslope. No further leaks appeared through the rest of the snowy season.
How it works
- 1
Site Assessment
Inspect flashing condition, roof pitch, and any existing damage from snow load or ice dams.
- 2
Material Selection
Choose metal type and profile to match the roof while meeting local wind and snow requirements.
- 3
Removal and Prep
Carefully remove failed flashing, check sheathing, and install new step flashing with proper overlaps.
- 4
Integration and Sealing
Reinstall counter flashing, cricket if needed, and seal all junctions against future meltwater.
- 5
Final Check
Test drainage paths and confirm no gaps remain that could allow winter moisture entry.
Pricing
Cost depends on roof access, chimney width, and whether rotted sheathing must be replaced.