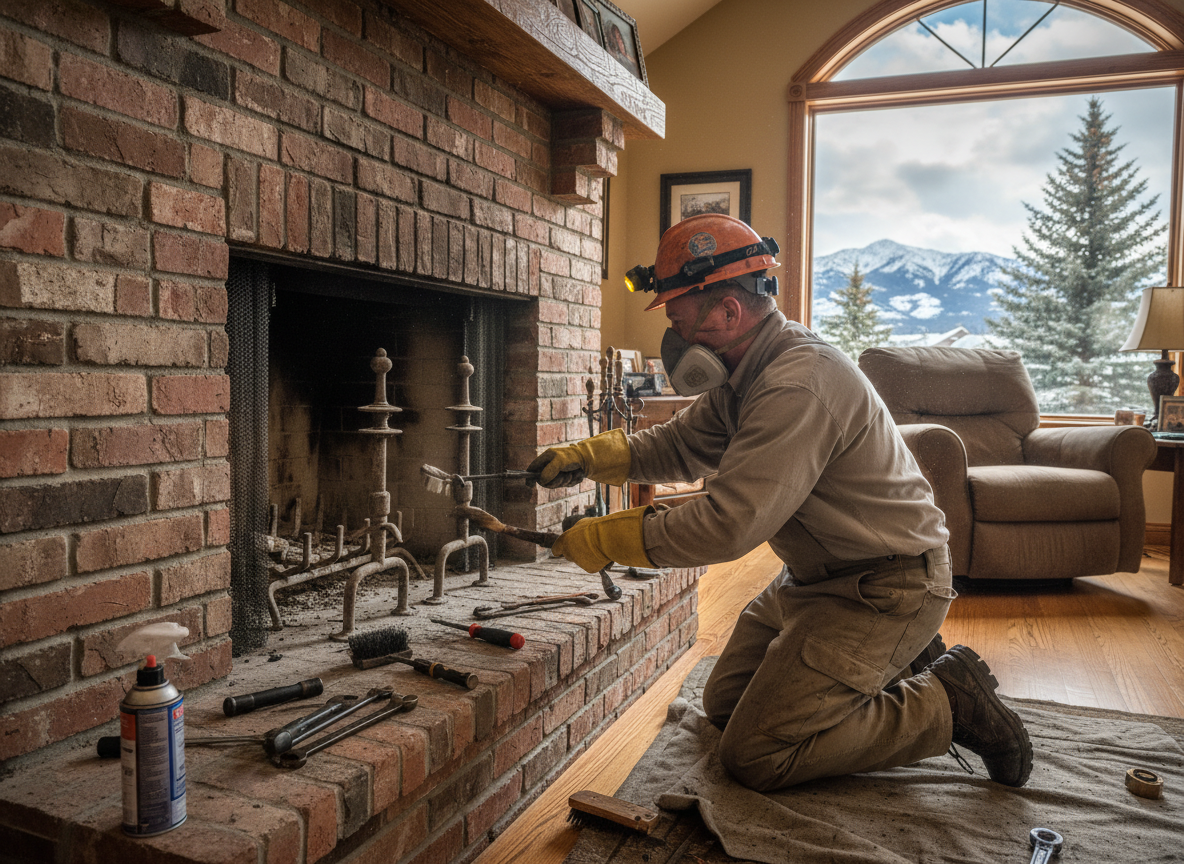
Holladay sits in Salt Lake County with a mix of 1960s-1980s ranch and split-level homes in Holladay Village and Mount Olympus that still rely on masonry chimneys with cast-iron or steel throat dampers. Cold snowy winters bring repeated freeze-thaw cycles that pack ice against the damper plate and seize the pivot rod, while summer heat and wind-driven dust accelerate surface corrosion. When a damper sticks open, homeowners lose heat up the flue; when it sticks closed, they risk carbon-monoxide backdrafting. A proper repair starts with a top-down inspection through the flue tile to check for cracked mortar joints around the smoke chamber that are common on the steeper lots near Olympus Hills Park.
Repair work here differs from newer builds in Cottonwood Heights because many Holladay chimneys were built with single-wall flue liners that leave little room for aftermarket damper inserts. Techs often have to drop a new stainless-steel cable-operated damper from the roof rather than trying to rebuild the original cast unit from inside the firebox. Access on the narrow driveways off Highland Drive means equipment must be carried in by hand, and any masonry repair around the crown must match the original buff-colored mortar to satisfy Holladay City historic-district guidelines in the Village core.
Seasonal timing matters. Most calls arrive after the first hard freeze in November when homeowners discover the damper will not close before they light the first fire. Waiting until mid-winter risks working on an ice-coated roof and can turn a one-hour damper swap into a full-day job if the flue must be thawed first. We carry both standard and custom-sized cable dampers sized for the 8x12 and 8x16 flue tiles prevalent in Mount Olympus homes so the job finishes in one visit whenever possible.
Technician insight
In Holladay, the thing that catches most people out with chimney damper repair is the single-wall flue tile on 1970s Mount Olympus homes. The original cast damper sits right where snowmelt runs down the back of the chimney; once it seizes, homeowners try to force it with a poker and crack the tile. We see that every winter on streets above Holladay City Park.
Stuck Damper on Mount Olympus Street
Homeowner in a 1974 split-level near Olympus Hills Park could not close the damper before the first snow. Camera showed the cast-iron plate frozen and the pivot rod rusted through. We removed the seized unit from the roof, dropped a new stainless cable damper sized for the 8x12 tile, and confirmed full closure. The flue now seals cleanly without further liner work.
How it works
- 1
Initial Inspection
Roof-level visual check plus interior flue camera to locate the damper and note any liner or crown damage.
- 2
Access and Assessment
Determine whether the original damper can be freed or must be replaced, noting flue size and any obstructions.
- 3
Damper Replacement or Repair
Install stainless cable damper sized to the existing flue tile or free and lubricate the existing mechanism.
- 4
Test and Seal
Operate the new damper through full range, confirm smooth closure, and check for air leakage around the frame.
- 5
Final Walkthrough
Show homeowner operation from the firebox and document before-and-after photos.
Pricing
Upfront quotes after inspection; cost driven by flue size, roof access on sloped Mount Olympus lots, and whether the original damper must be cut out.