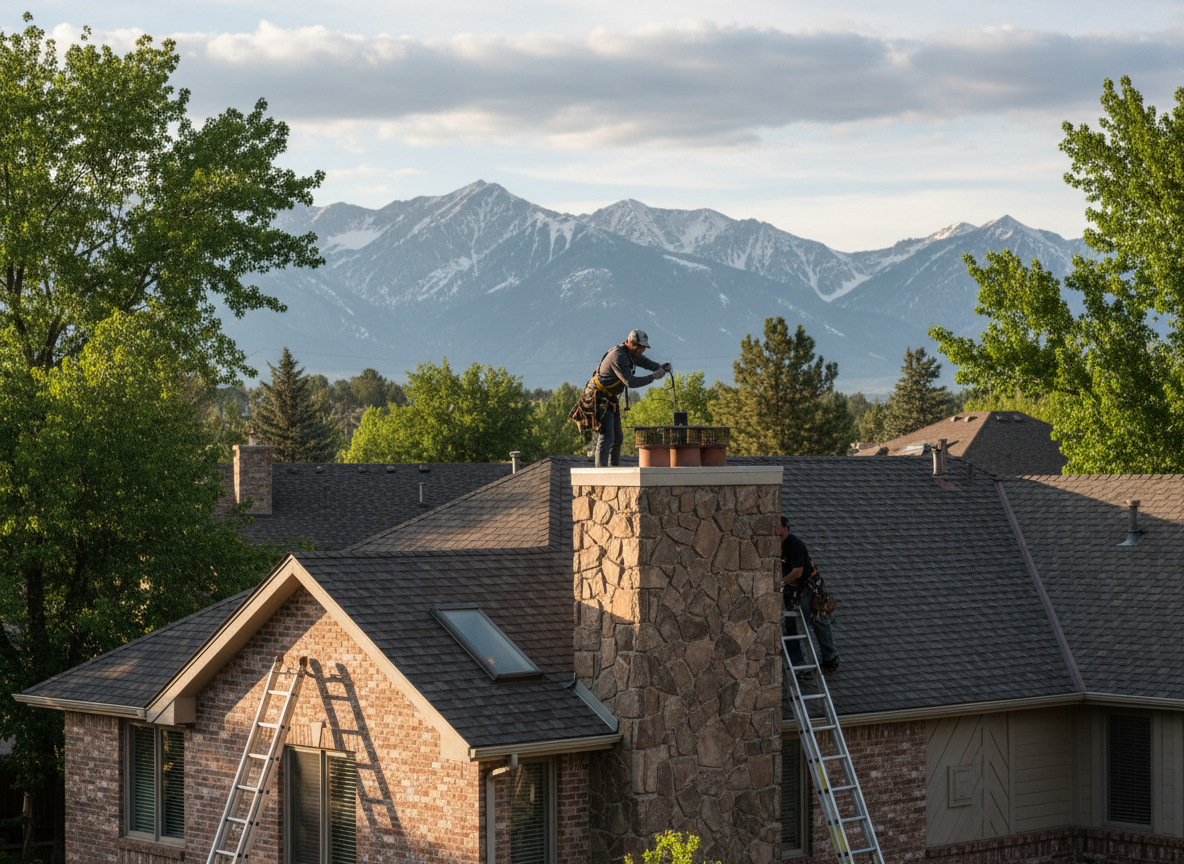
Holladay homes built before the 1980s in Mount Olympus and along the benches near Olympus Hills Park often have single-wall brick chimneys that lack modern flashing details. These flues see repeated freeze-thaw cycles every winter when snow melts on sun-exposed south faces then refreezes at night. A properly sized stainless or copper cap with a 3/4-inch mesh keeps embers in and rodents out while allowing the draft needed for the tall stacks common on two-story homes near Holladay City Park.
Installation here requires checking the crown for hairline cracks that let water behind the brick. We measure the flue tile first, then fabricate or select a cap that overhangs the tile by at least two inches on every side. In Cottonwood Heights and Millcreek borders, wind-driven snow can push moisture under poorly fitted caps, so we bed the base in high-temperature silicone and secure it with stainless screws into the tile, never the brick itself.
Edge cases include chimneys that share a wall with a neighbor's flue or those that have been parged with cement that is now spalling. We remove loose material, install a new rain diverter if the crown slopes inward, and verify the cap sits level so snow does not collect on one side and melt unevenly into the flue.
Seasonal Considerations for Holladay Winters
Cold snaps after heavy snow load increase the chance of ice dams forming at the cap edge. We recommend scheduling before the first sustained freeze so any masonry repairs can cure.
Common Materials Used Locally
We stock 304 stainless and 16-ounce copper caps sized for 8x8, 8x12, and 13x13 tiles. Both resist the salt air that occasionally reaches the benches from the west.
Technician insight
In Holladay the thing that catches most people out with chimney cap installation is the inward-sloping crown on 1960s and 70s brick chimneys along the Mount Olympus benches. Snow melts, runs toward the flue, and sits under a standard cap that was never bedded properly, so water keeps entering even after the cap goes on.
Mount Olympus Two-Story Chimney
Homeowner in Mount Olympus noticed water stains on the second-floor ceiling after a March snow. We found the existing cap had lifted on one side and the crown sloped inward. We removed the old cap, repaired the crown slope, and installed a new stainless unit with proper overhang and bedding. No further water entered during the remaining winter storms.
How it works
- 1
Site Assessment
We climb the roof and measure the flue, check crown condition, and note any shared walls or nearby tree cover that affects wind patterns around homes in Mount Olympus.
- 2
Cap Selection
Match the exact tile dimensions and choose stainless or copper based on the existing flashing metal on houses in Holladay Village and Cottonwood.
- 3
Preparation
Remove the old cap, clean the tile rim, and repair any spalled crown sections before bedding the new unit.
- 4
Installation
Secure the cap with stainless fasteners, seal the base, and test draft with a smoke stick to confirm no backdraft issues.
- 5
Final Check
Walk the homeowner through the finished work and note any future masonry items visible from the roof.
Pricing
Cost depends on chimney height, tile size, and whether crown repairs are needed. Call 24/7 for a site visit.